Essential Kegerator Coupler Parts for Your Home Brew Setup
Curious why your draft beer ends up too foamy or disappointingly flat? The secret lies in the small but mighty components connecting your keg to the tap. Without the right setup, even the best brew can lose its crisp taste and perfect carbonation.
We at Installation Parts Supply believe that every great pour is built on top-notch hardware. No matter if you brew at home or simply enjoy draft beer, knowing these Sanke keg coupler parts makes all the difference.
Every part—from the washers to the gas lines—matters for keeping the right pressure and taste. More than nine out of ten pour problems stem from mismatched or worn parts. With a bit of know-how, you can keep your setup working without a hitch.
Central Ideas
- The correct coupler choice means perfect carbonation and flavor.
- Count on Installation Parts Supply for trusted draft setup parts.
- Keeping parts clean and checked avoids typical pouring glitches.
- Different beer types may require specific coupler styles.
- The majority of malfunctions start with coupler problems.
Kegerator Coupler: An Overview
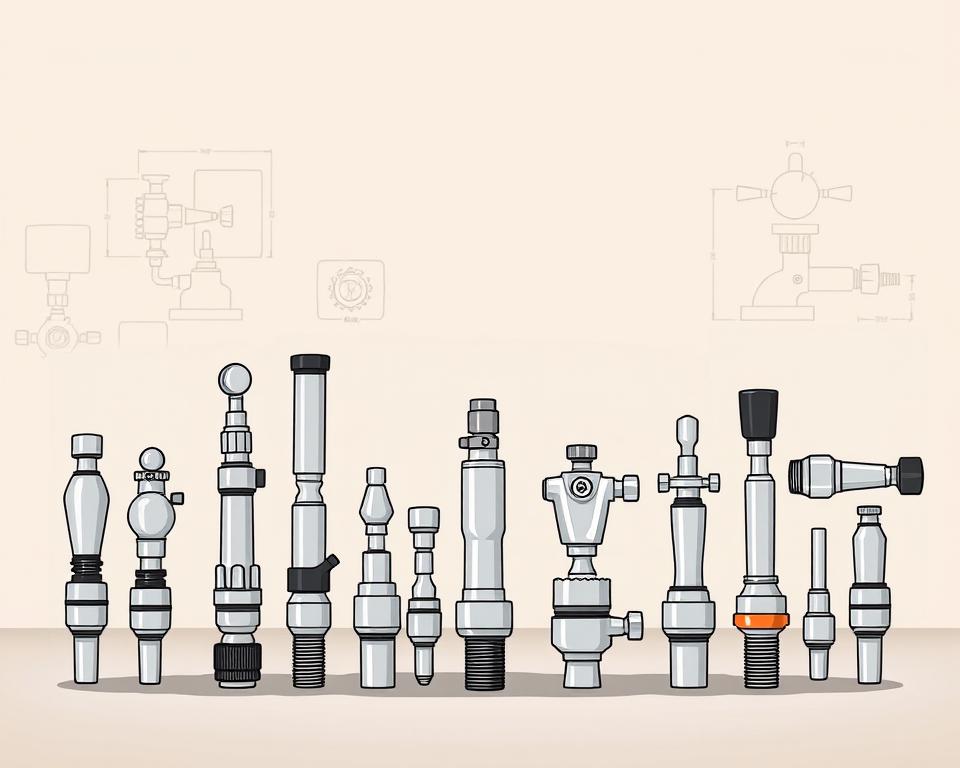
The perfect draft beer starts with the right connection between your keg and tap. Think of the keg coupler as the connector between your CO₂ cylinder or nitrogen tank and the beer line, employing pressurized gas to deliver beer flawlessly to your taps. It’s the heart of your draft beer system: no coupler, no flow.
That tiny gadget serves a dual purpose: gas delivery to pressurize and valve control to pour your beer. Inside, you’ll find a probe, a check valve, and separate ports for gas and liquid. These components work together to maintain carbonation and prevent excess foam.
| Component | Role | Frequent Problems |
|---|---|---|
| Probe | Punctures the keg seal | Leaks if not aligned properly |
| Check Valve | Stops beer from flowing backward | Worn valves lead to flat beer |
| Gas/Liquid Ports | Connects to lines | Loose fittings create foam |
Attaching the coupler wrong is a rookie mistake—75% of first-time users do it. End results include overflow foam, drips, or wasted brew. Check Installation Parts Supply’s charts and videos for correct setup.
Even “universal” styles need to correspond with your keg’s standards. The incorrect coupler not only spoils the beer, it can wreck your setup.
Which Keg Coupler Is Right for You?
Different beers call for different couplers. The correct coupler preserves carbonation and taste. Here’s how to pick the perfect fit.
Standard D System Coupler
Most North American brews—about 85%—use this style. The one-valve mechanism snaps firmly into place. Pro tip: Look for the Sankey name stamped on the side.
Nitro (U) Coupler
The harp emblem identifies it for nitrogen blends like Guinness. A 75% nitrogen mix gives you that signature creamy foam. Don’t jam a U-style onto a regular keg—no proper seal results.
Reverse-Thread S System Coupler
Imports from Europe require this S-system coupler. The left-hand twist prevents mix-ups with D Systems. It’s roughly an inch taller than the U.S. version.
A-, G-, and M-Type Couplers
German and UK beers demand specialized connectors:
- A System: Used on Warsteiner & Paulaner barrels. That slider lock never slips.
- G-Type Coupler: Tri-flat stem locks onto Bass & Boddingtons. Britain’s go-to pub coupler.
- M-Type Coupler: Made for Schneider Weisse kegs. The slide-lock clicks when secure.
Their guide highlights D in green, U in black, S in blue. A brewery in the Midwest reclaimed $3,000 a year after matching couplers properly. Always favor exact compatibility over “universal” marketing.
Key Coupler Components Explained
That perfect pour depends on finely tuned parts. Together, they keep carbonation in and foam out. Here’s a look at the parts that matter most.
Coupler Probe & Check Valve
A stainless probe punctures the seal to regulate flow. High-end probes outlast budget ones by threefold. Underneath, the check valve stops reverse flow—our top replacement item.
Hex Nut and Washers
Everything tightens up around the hex nut. Choose brass for cost, steel for longevity. Pair it with nitrile washers for cold temperatures—EPDM rubber cracks faster below 40°F.
| Part | Material | Key Benefit |
|---|---|---|
| Probe | Stainless Steel | Long-lasting |
| Return Valve | FDA-approved plastic | Prevents flat beer |
| Coupler Nut | Brass/Stainless | Balances cost/durability |
Gas & Beer Ports
Your gas port should see 20–30 PSI pressure. Wrong PSI leads to foam. Liquid ports work best with 3/16″ ID tubing—1/4″ lines increase turbulence. Rebuild kits with FDA seals simplify maintenance.
Pro Tip: Swap O-rings every 6 months or 50 kegs. A $3 washer replacement beats a $150 coupler failure.
Coupler Installation Guide
Getting your draft system right means perfect pours every time. Correct hookups avoid pouring issues. Use this step-by-step for a seamless install.
Attaching Coupler to Keg
Open the handle, fit lugs into place. Rotate until secure but don’t overtighten. Slim models save 4–5″ of headroom.
Use our torque wrench to set nuts at 8-10 ft-lbs. Most leaks—about 80%—come from probe misalignment. New washers keep your system sealed.
Attaching Gas and Beer Lines
Connect the gas hose to the coupler’s port using 5/16″ MFL fittings. Apply thread sealant to prevent CO₂ leaks. For beer lines, 10–12 feet of 3/16″ tubing balances pressure drop.
| Task | Equipment | Note |
|---|---|---|
| Gas Line | Pipe dope | Check with 30 PSI leak test |
| Beer Line | Tubing cutter | Keep ends square for seals |
| Leak Test | Leak detector | Check for 24 hours |
Some setups include apps that track pressure live. A Denver brewery cut foam by 40% using quick-connects from Installation Parts Supply. Stop the CO₂ at the source for serious leaks.
Troubleshooting Common Coupler Issues
Foamy eruptions are the quickest way to waste beer. Identify these key spots and you’ll solve most pour problems. Let’s tackle the frequent headaches and their solutions.
Foam & Leak Fixes
Foam is blamed in nearly 70% of draft problems. Start by checking your temperature—ideally 38°F for most ales. Warm beer releases CO₂ prematurely.
Check each draft line connection next. Soap test any fitting—bubbles point to leaks. Tighten any loose fittings with a wrench, but don’t over-tighten.
- Ball Check Valve may hiss and interrupt flow
- Pressure imbalance? Compare your gauge to this chart:
| Beer Type | CO₂ PSI | N₂ Ratio |
|---|---|---|
| Lagers | 10–12 | N/A |
| Nitro Stouts | 25–30 | 75% nitrogen |
Coupler Fit Problems
A loose fit often means the O-rings need replacing. Replacing seals corrects about 40% of these problems. Warped coupler faces may need replacement.
Shims can stabilize wobbly connections. These inexpensive plastic wedges stabilize wobbling connections. Choose low-profile for compact spaces.
Pro Tip: Their emergency washer kit contains five critical seals. A Chicago bar cut waste by 18% after training staff on these quick fixes.
Remember—frost on your CO₂ tank signals overuse. Allow the tank to warm up prior to any valve tweaks. Recalibrate digital gauges every year.
Cleaning and Maintaining Your Keg Coupler
Clean lines equal better-tasting beer. Over time, residue builds up, affecting flavor and dispensing performance. Regular care preserves performance.
Coupler Teardown
First, disassemble the coupler. Remove the handle, probe, and check valve. Soak all parts in warm water with 1 oz of PBW per gallon for 15–20 minutes. It dissolves yeast and hop deposits.
Our brushes get into the smallest crevices. Focus on the ball valve—gunk loves to hide there. Flush well to prevent soap residue.
Best Coupler Cleaners
PBW (Powdered Brewery Wash) is a top pick for its pH balance. Acids clean quick but may degrade seals. Sound-wave cleaners strip away stubborn grime.
- Drying: Use compressed air or microfiber cloths.
- Disinfecting: Follow FDA CFR 117 guidelines—30 seconds of contact time kills bacteria.
- Record-Keeping: Maintain a cleaning log for consistency.
UV sanitation guards seals longer. Dispose of alkaline wash properly to protect drains. Routine cleaning maximizes lifespan and taste.
Wrapping It Up
Savor every pour once you’ve perfected your draft setup. Correct parts, clean routine, and proper install equals perfect pints. Installation Parts Supply offers lifetime support and seasonal discounts on rebuild kits to keep your pours perfect.
Fun fact: Careful maintenance adds up to 7 extra years of service. Get their checklist and attend a brewmaster session for insider advice. A quick annual inspection ensures trouble-free operation—just ask their 5-year satisfied customers.
Time to level up: head to Installation Parts Supply and improve your home bar.